Table of Contents
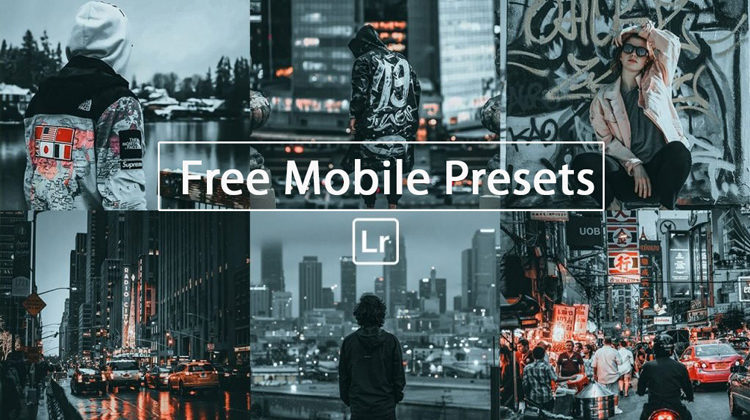 A round-up of free lightroom presets for mobile & classic to apply stunning effects to your images in no time. You can download these best presets right away and start editing images with Lightroom Mobile App & Lightroom Classic. Most of these presets don’t require making adjustments but it is a good idea to adjust the settings of highlights, exposure, contrast, etc to make sure these presets work exactly as you want to. Apart from just visiting download pages of these presets, do check websites’ homepages to get more free mobile lightroom presets.
Lightroom Mobile Presets (.DNG Format) VS Lightroom Desktop Presets (.XMP Format)
Lightroom mobile presets are basically images that come with pre-applied settings. The free presets that you will download from the below-mentioned links will have .DNG format and you just need to copy settings from these files and paste them to your photos in Lightroom mobile app to make them work.
Whereas Lightroom Desktop Presets are not images these are files come with .XMP format and exported by the New Adobe Lightroom CC Classic. Mobile presets are created in Lightroom Classic and they are exported to .DNG format so we can use them with Lightroom Mobile App.
Whether it is mobile or desktop presets, they both work the same but the only difference is you need DNG files to use them on mobile & to use them on the desktop you need .XMP files. Also, you need a Lightroom subscription to use presets on Desktop but you don’t need to pay to use presets with Lightroom Mobile as it is free to use.
How to Install Lightroom Presets on Desktop
It is very easy to import presets in Lightroom Classic.
1. Open the Lightroom Classic, go to File > Import Photos & Videos.
2. Now import some photos and select any of the imported photos.
3. Select the Develop Module on the top right of the screen, on the left side, click on the (+) under the Presets tab and select “Import Presets”.
4. Look for .xmp presets, select them, and import the presets.
How to Install Presets with Lightroom Mobile
Installing mobile presets is a bit tedious task and I have to be more thorough to explain.
1. Create a new album in the Lightroom Mobile App. Click on the (+) icon in the Album section (right on your screen).
2. Load all the presets in the new album. To add presets, click on the “+ & picture icon” at the right bottom of the screen. Select your mobile presets and add all the DNG files.
3. Open any preset that you just loaded to a new album in Lightroom and then click on the three dots icon at the top right > select Create Preset.
4. Give your preset a name & save it. You can also choose to put under a new group
5. Now open any of your photos.
6. Find the Presets icon in the menu at the bottom of the screen and tap on it.
7. Now browse through your presets and apply them to your photos.
Here are 21 Free Mobile Lightroom Presets:
1. 10 Free Dark & Moody Presets For Mobile & Desktop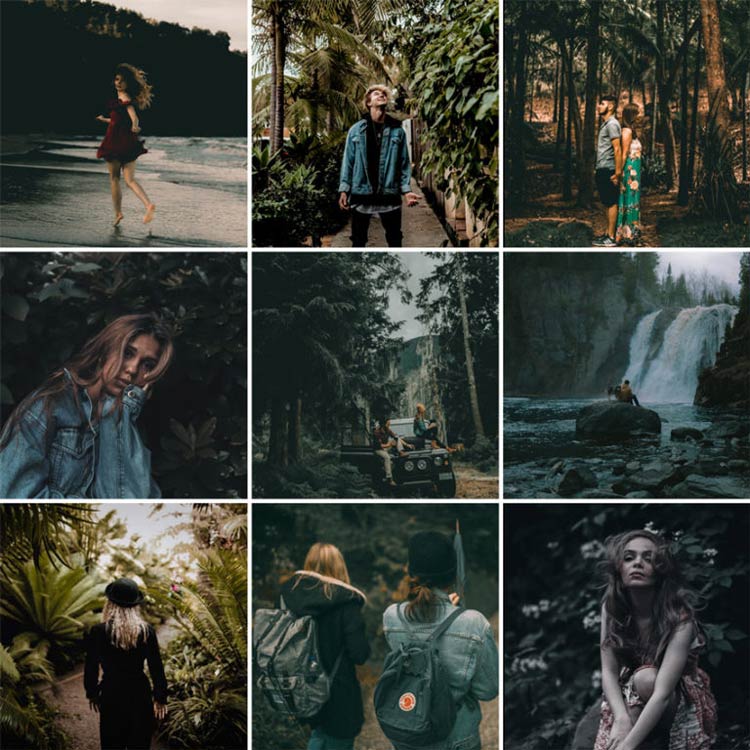
2. 11 Free Landscape Presets
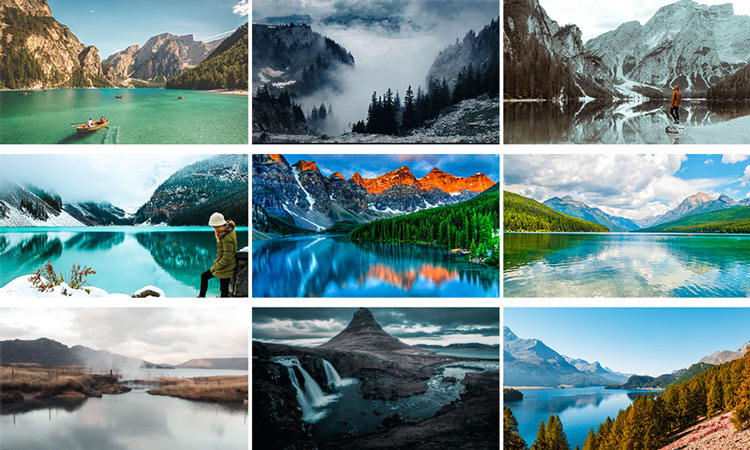
3. Free Hipster Lightroom Preset

4. Banff Lightroom Mobile Presets
5. Urban Tones Mobile Lightroom Presets
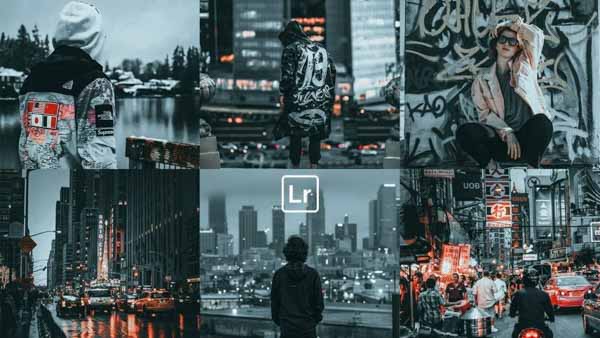
6. Insta Blogger Style Preset

7. Free Model Film Lightroom Preset (Desktop + Mobile)

8. Toni Mahfud Lightroom Presets (Desktop + Mobile)

9. Snow Mountain Lightroom Mobile Preset

10. Winter Presets For Classic & Mobile
11. Classic Bright Preset

12. Greece Lightroom Presets

13. Free Sepia & Teal Mobile Lightroom Preset

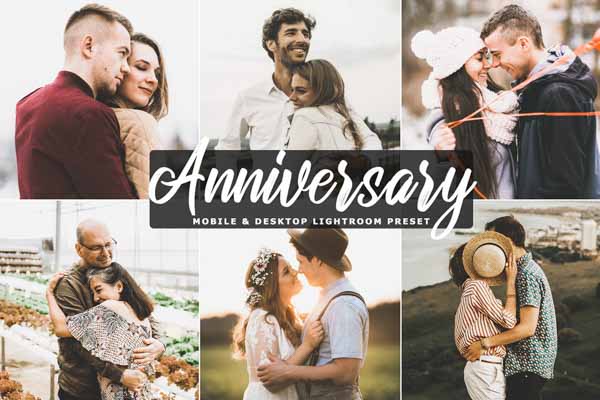
14. Anniversary Mobile & Desktop Preset
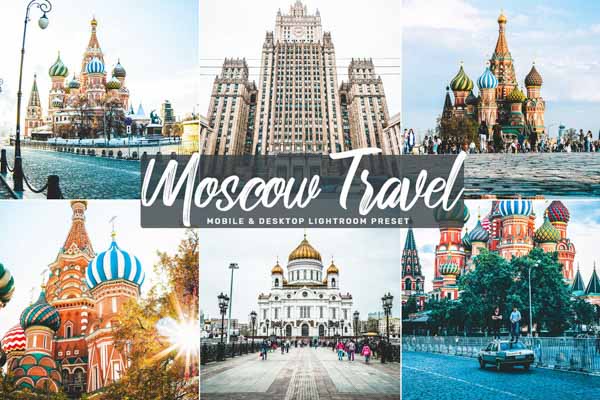
15. Moscow Travel Mobile & Desktop Preset
16. Moody Black

17. 12 Free Mobile & Desktop Presets

18. 10 Vibrant Coloring Lightroom Presets
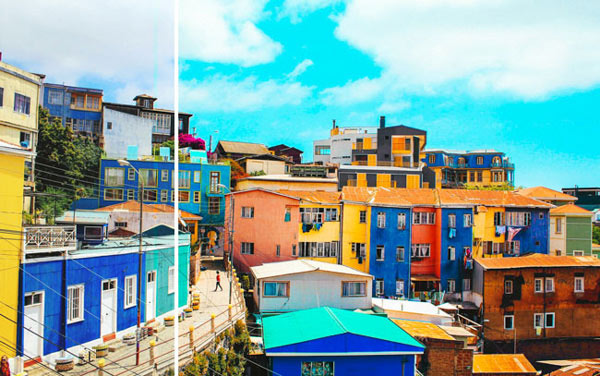
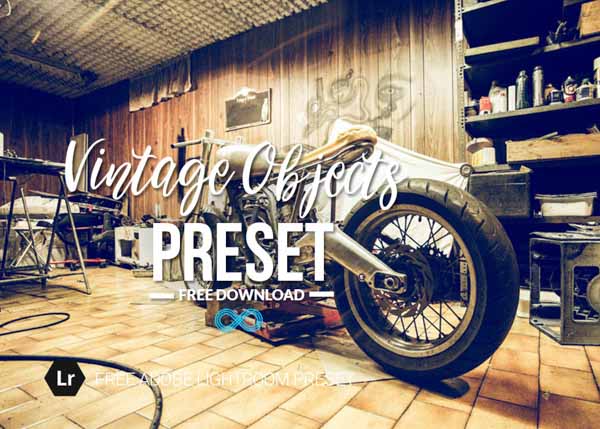
19. Free Vintage Objects Lightroom Presets
20. Free Cinematic Photo Effect Lightroom Presets
21. Free Sample Pack of Lightroom Presets (10 Different Presets)

Want


